All Lips Bright And Beautiful...
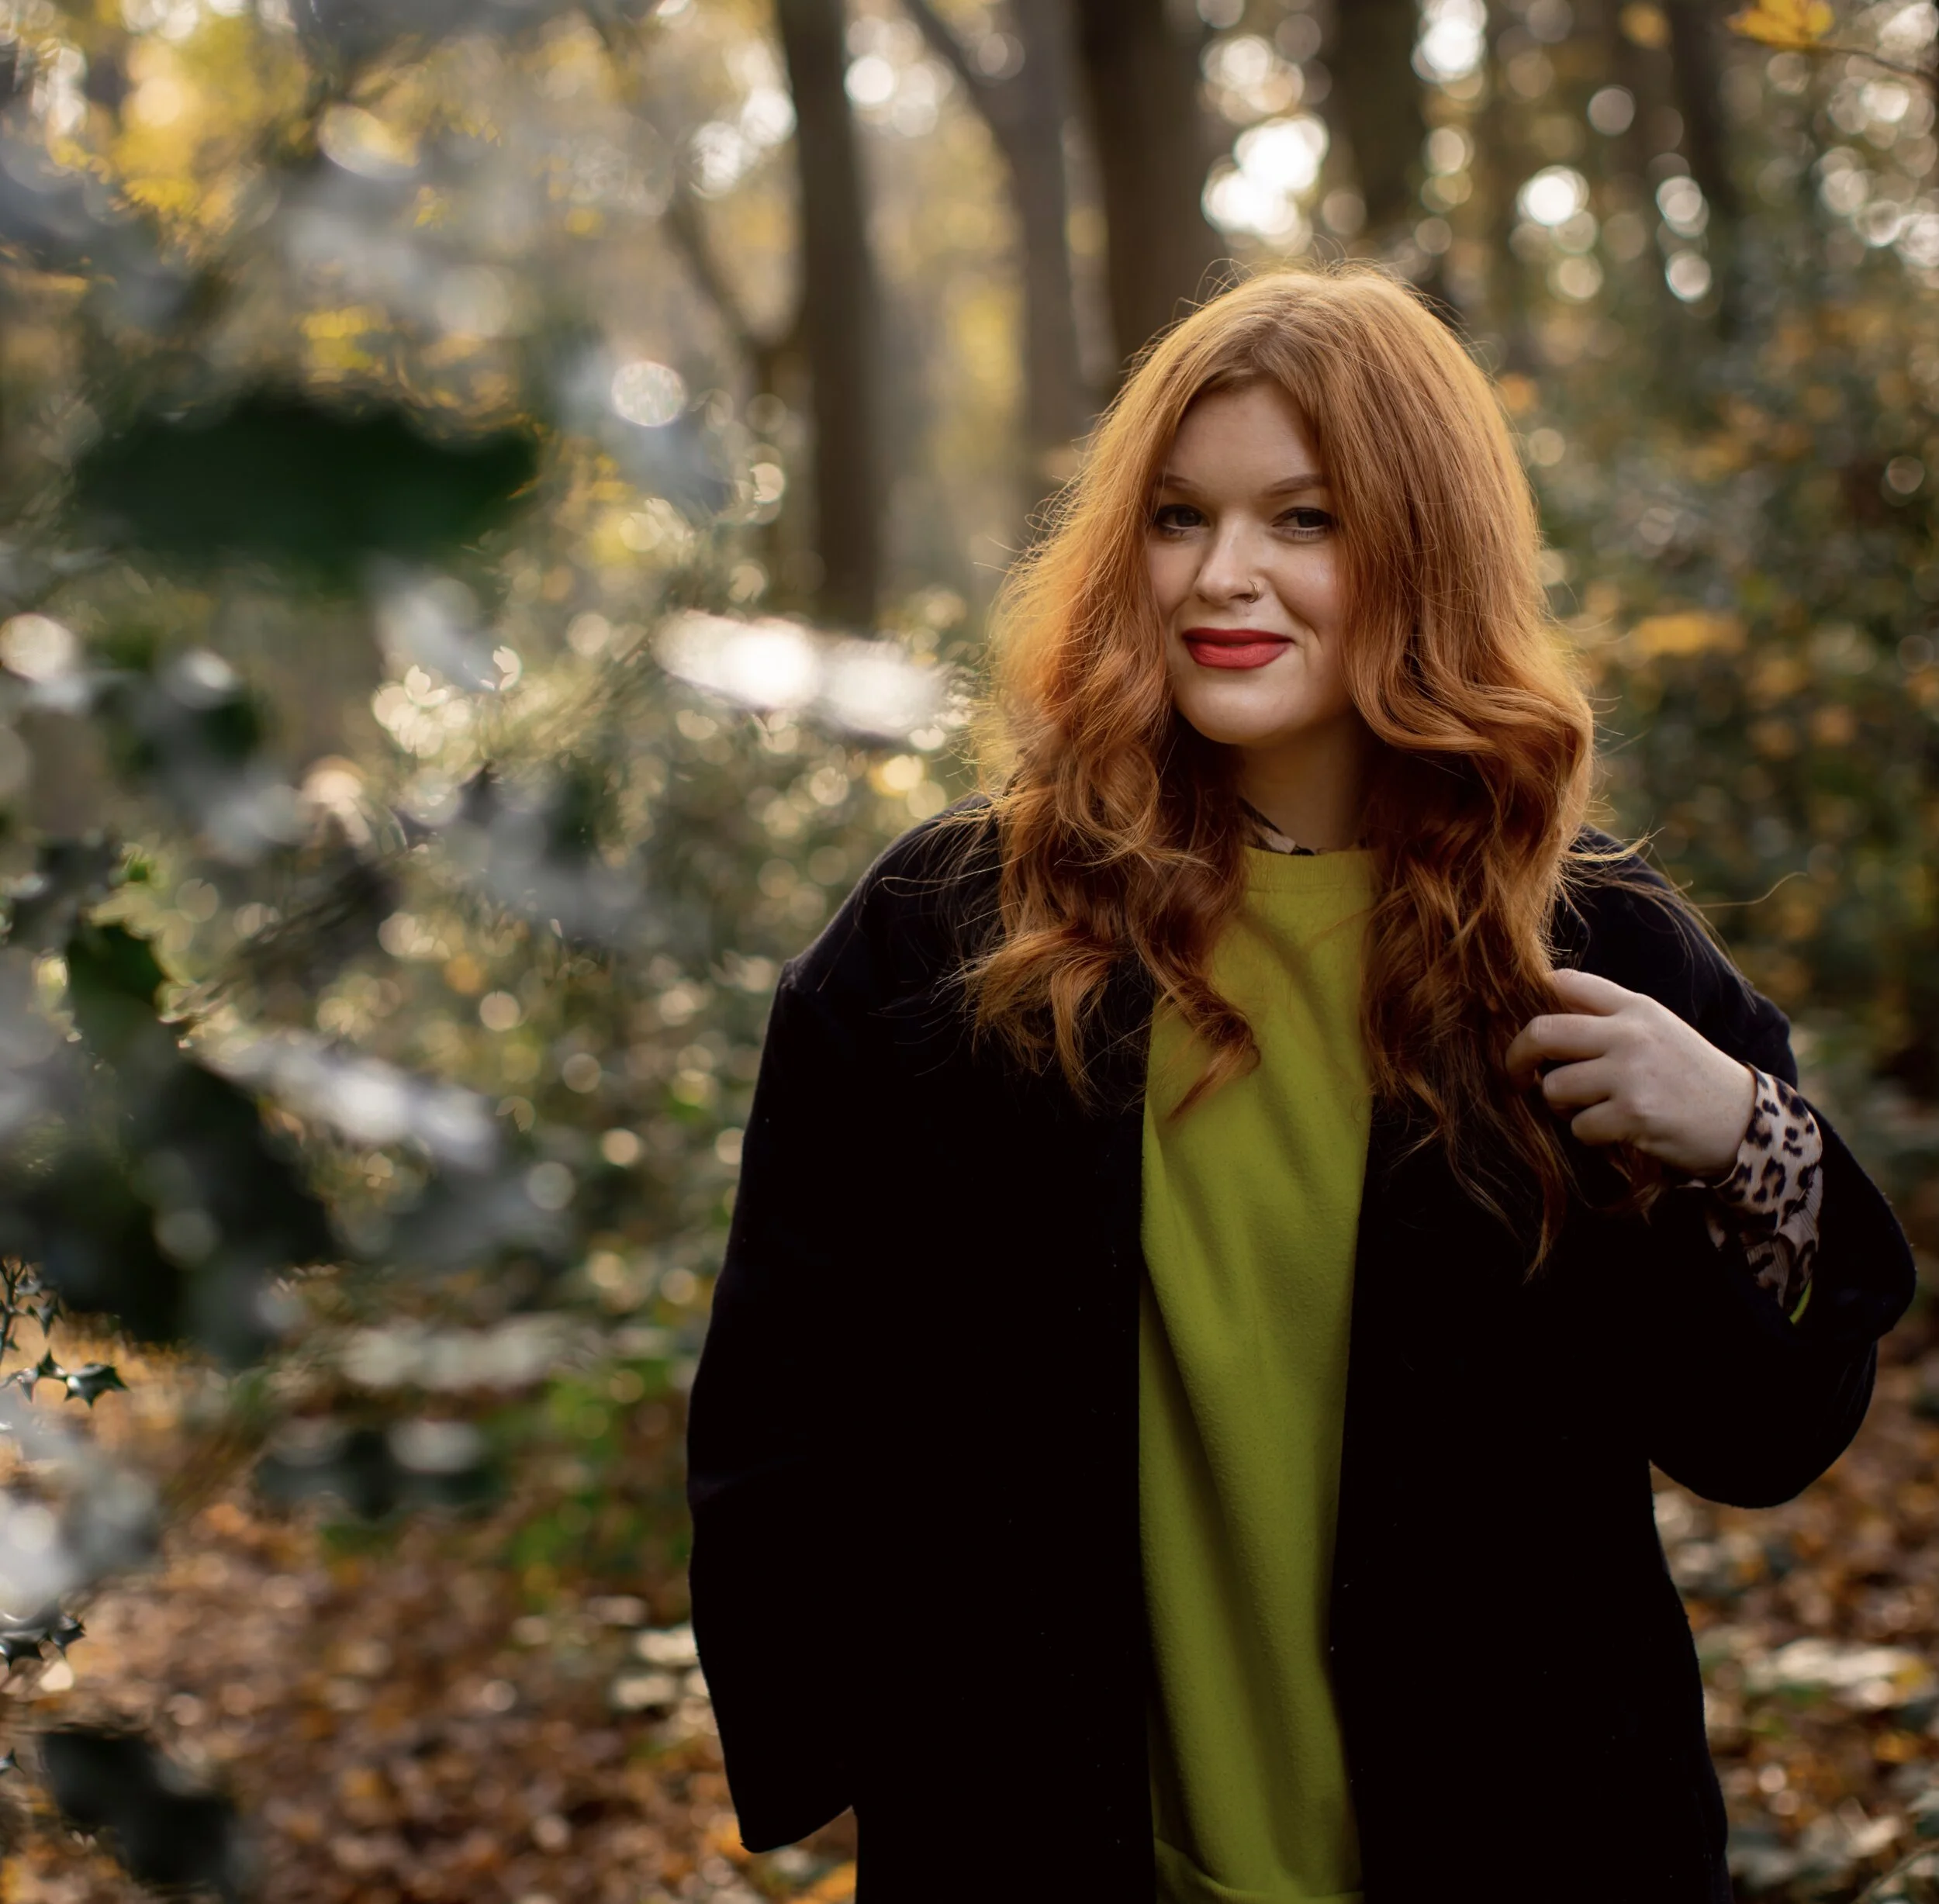
One of my all time favourite looks is a bright, bold and colourful lip.
Its a personal “go-to” look of my own especially when I want to make a statement or simply if I want to look as though i’ve made more of an effort then I really have!
For brides, I equally love it. It really does give the WOW factor on a finished look, even if you have gone natural or spiced things up with a glam makeup choice.
However for brides there are a few things to remember; Firstly, you want to make sure you get the right colour for you, and this means dedicating some time to go and try on some on. I would advise when you do to wear a little more makeup than normal to help give a complete look otherwise the lip is going to jump right back at you and may appear “too much”.
With COVID controlling our shopping habits and testers being taken off stands, brands have thankfully added unique testing strategies to their websites and now you can virtually try them on… which is bloody marvellous! Also, if you order a colour or a texture you’re not sold on, you totally have the right to return the product!
Secondly, your makeup trial prior to your wedding is a perfect opportunity to see whether this statement look is for you or not.
Ask the MUA for her honest opinion as a professional should always do so, and also ask them to take photos with you wearing the lip colour, and make sure you smile into the camera when you do. This is going to give you the best representation of how you will look on the day and when you get your photos back.
Whether its your wedding day or Friday night drinks with the girls, there a couple more products im going to recommend to help make your statement lip look polished…
Make sure your lips and scrubbed and moisturised. We don’t want any dry skin visible when you’re busting out a cracking red lip. You can do this with a gentle lip exfoliator OR by applying some lip conditioner onto your lips and gently scrubbing them with a disposable mascara wand. Make sure you wipe any excess skin or product off your lips when you’re finished. I recommend https://www.nyxcosmetics.co.uk/thisiseverything-lip-scrub/NYX_719.html
Using a lip primer next is going to ensure that any lip liner is not going to drag onto the skin, and will help prevent the lip from bleeding (falling into the lines on the outside of the mouth). It will also help to condition the lip and will improve the appearance of the lipstick by filling in any fine lines. I recommend https://www.kikocosmetics.com/en-gb/make-up/lips/primer/Nude-Blur-Lip-Base/p-KM0020600200144
Never ever apply a lipstick without outlining the mouth with a nice sharp pencil. This will define the lip shape and keep the lipstick in tact for you. Again, will prevent the lip colour from bleeding outwards. there’s nothing sexier than a nice defined pout, so get practising! Here are some colours I recommend;
https://www.maccosmetics.co.uk/product/13852/340/products/makeup/lips/lip-pencil/lip-pencil#!/shade/Cherry
https://www.maccosmetics.co.uk/product/13852/340/products/makeup/lips/lip-pencil/lip-pencil#!/shade/Chestnut
https://www.nyxcosmetics.co.uk/lips/lip-liner/slim-lip-pencil/NYX_052.html
A decent lip brush is definitely one to have to hand! Particularly if your lipstick has gone a bit flat and out of shape, you can use the brush to get in the corners and to help define the cupids bow. I recommend https://www.mykitco.uk/search?q=all+over+lip+brush+&type=product%2Carticle%2Cpage&options%5Bprefix%5D=last
FINALLY! Heres some of my favourite lipsticks to help create this colourful look;
https://www.maccosmetics.co.uk/product/13851/22067/products/makeup/lips/lip-palettes-kits/pro-lip-palette-6-editorial-reds
https://www.nyxcosmetics.co.uk/lips/lipstick/liquid-suede-cream-lipstick/NYX_201.html
Once your lipstick is applied, it’s a good idea to blot some of the excess product off with some tissue. Gently place the tissue in between your lips and press down. doing so will improve longevity.
There are a couple of ways you can try out a coloured lip;
KEEPING IT BOLD - the one I have described using a lip liner to create a defined shape and applying the lipstick straight from the bullet.
SLIGHTLY MUTED - Whilst still using the above technique, once you have let the lipstick sit and set on your lips for a few minutes, you can use the blotting effect until all your left with is a stain on the lips. If you want to use a cotton bud to fade the edges slightly, then go for it!!
BLURRED AND HAZY - this one is slightly less maintenance and is either applied using only your finger OR using a soft blending brush (a 217 from MAC would do the job). This doesn’t require a liner and is applied using a light pressure allowing either the brush or your finger to give a diffused look to your application. Ive included some tutorials to give you some guidance. See below.
SOME PRO MUA TIPS:
Keep some cotton buds to hand incase you have gone too far outside of the lip line. if you do have to use these, try not to correct the lipstick by using a wiping motion either side of the lip, instead using the tip of the bud and rolling up or down into he lip. That way you’re not smearing the colour and making more of a mess.
Using a little bit of concealer on a stiff flat brush ( My Kit Co “My Flat Definer” will be perfect) and skimming the outside of the lip will help tidy up and create a really defined and polished look.
Tapping on a little translucent powder onto your lips before heading out of the door is a great way
Would love to hear your thoughts in the comments, and let me know if you give any of the techniques a go! x


